The Ultimate Guide to Anchor Charts
By MARISSA DESPINS Updated March 19, 2024
All About Anchor Charts
Are you curious about what anchor charts are and how you can use them to enhance classroom learning? You have come to the right place! Anchor charts are vibrant, visually engaging posters that are hung on the walls of the classroom. They not only beautify your classroom space but also serve as powerful learning tools. These handy charts display lessons, strategies, and key concepts in ways that are easily accessible to all students. Whether you’re a seasoned educator or just starting out, learning how to make and use anchor charts can transform your teaching and enhance student learning.
In this ultimate guide to anchor charts, we’ll explore everything you need to know to get started with using them in your classroom.
(This post contain affiliate links which means I make a small commission if you make a purchase, at no additional cost to you. Thank you for your support!)
What is the Purpose of an Anchor Chart?
Anchor charts serve as visual reference tools that support classroom instruction. The charts summarize and highlight key concepts, strategies, and processes discussed during lessons. After creation, students can look back to the chart to clarify their understanding or review information throughout the school day.
Part of what makes anchor charts are so effective is that they are co-created with students during the learning process. This helps to solidify understanding and allows students to actively participate in their own learning – and, as teachers, isn’t that one of our biggest goals?
How do you Make an Anchor Chart?
To make an anchor chart, you first need to gather materials. This will include chart paper and markers.
Next, you need to plan your content around a key lesson or concept you want your students to remember. Choose a layout that clearly and visually organizes the information, such as bullet points, diagrams, or mind maps. Using bright colors and bold letters for headings helps to draw attention to key points and details. Also, make sure the text is large enough to be read from anywhere in the room. The incorporation of symbols and drawings helps to make abstract ideas more concrete.
As you create the chart, it is important to remember to engage your students in the process. Co-creating the charts helps to make the learning more meaningful. It also ensures the chart reflects their understanding and questions. Each chart is a reference tool for students to use, and should include the information they need most.
Finally, place the finished anchor chart where it’s easily visible to all students. This collaborative and strategic approach makes anchor charts an effective tool for reinforcing learning and supporting student independence.
What is the Difference Between an Anchor Chart and a Poster?
While anchor charts and classroom posters share some similarities, there are key differences to keep in mind.
Anchor charts are teaching tools that are co-created with students during the learning process. They serve as “anchors” to reinforce student learning by capturing and displaying key concepts and strategies discussed in class. Anchor charts are not just decorations – they are meant to be referred to often, helping students recall and apply what they’ve learned independently.
Posters, on the other hand, are usually pre-made or teacher-created visual aids designed to decorate the classroom or provide information. They might contain inspirational quotes, subject-specific facts, rules, or student work. However, they are not typically created as part of an interactive learning process with students. Posters serve more as background material or supplemental information rather than as an active part of the day-to-day learning process.
How do you use them in the Classroom?
Interested in using these handy charts to help enhance teaching and learning? Follow these steps to help you successfully use anchor charts in your classroom!
- Create the Charts with Students: Involve students in the creation of the anchor charts you use in your classroom. This collaborative process helps solidify understanding. It helps make the charts more meaningful to students, as they are active participants in their own learning.
- Display Anchor Charts Strategically: Place anchor charts where students can easily see and refer to them. You don’t want to hide them away in a dark corner of the classroom. Students need to refer back to the charts often, so they should be easy for students to spot and use.
- Refer Back to the Charts Often: Regularly direct students’ attention back to relevant anchor charts during lessons or when they have questions. This reinforces their use as a learning tool.
- Encourage Interactive Learning: Use anchor charts interactively by having students add to them, use sticky notes for comments or questions, or reference them during group activities. I am yet to teach a lesson where a strategically used sticky notes has not brought instant engagement.
- Use the Charts to Review and Reflect: Periodically review anchor charts as a class to reinforce learning and assess understanding. This can also help identify areas that may need further review or instruction.
Reinforcing Key Skills in the Classroom
Follow these tips to help you use anchor charts in your classroom to reinforce key skills.
- Skill-focused Charts: Create anchor charts that are specifically designed around a key skill you want students to master, such as summarizing, inferencing, or problem-solving. Clearly outline steps, strategies, or processes students can follow. As these are key skills that you will use throughout the year, you can store the charts in your classroom to access when needed, saving you a lot of time.
- Visual Cues and Examples: Include clear, visual representations of concepts and skills on your charts, along with concrete examples. Pictures and diagrams can help make the information on the charts easier to understand and remember.
- Student Contributions: Allow students to add examples or tips to the anchor chart based on their experiences and successes. This allows students to be actively involved in the learning process, making things collaborative and personalized.
- Consistent Reference: Regularly point students back to the anchor charts when the related skill is being used or when a student asks a relevant question. This reinforces the idea that the chart is a tool, not just decoration.
- Skill Review Sessions: Dedicate some classroom time to review the anchor charts as a class. This helps to reinforce key skills and ensures that students feel comfortable using the charts as reference tools.
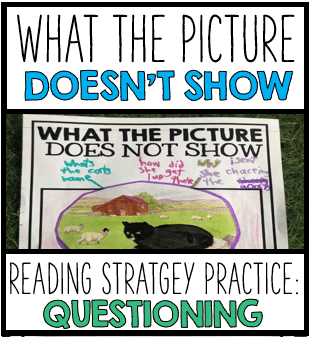
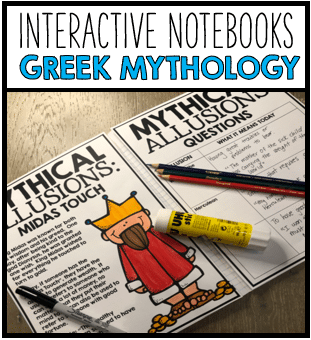
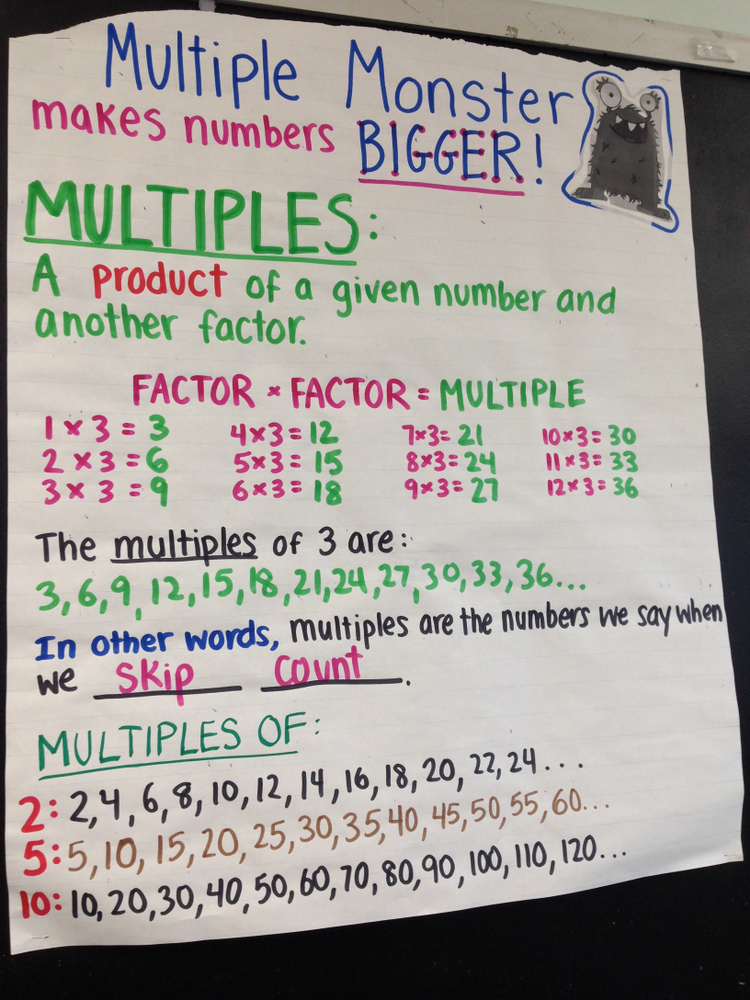
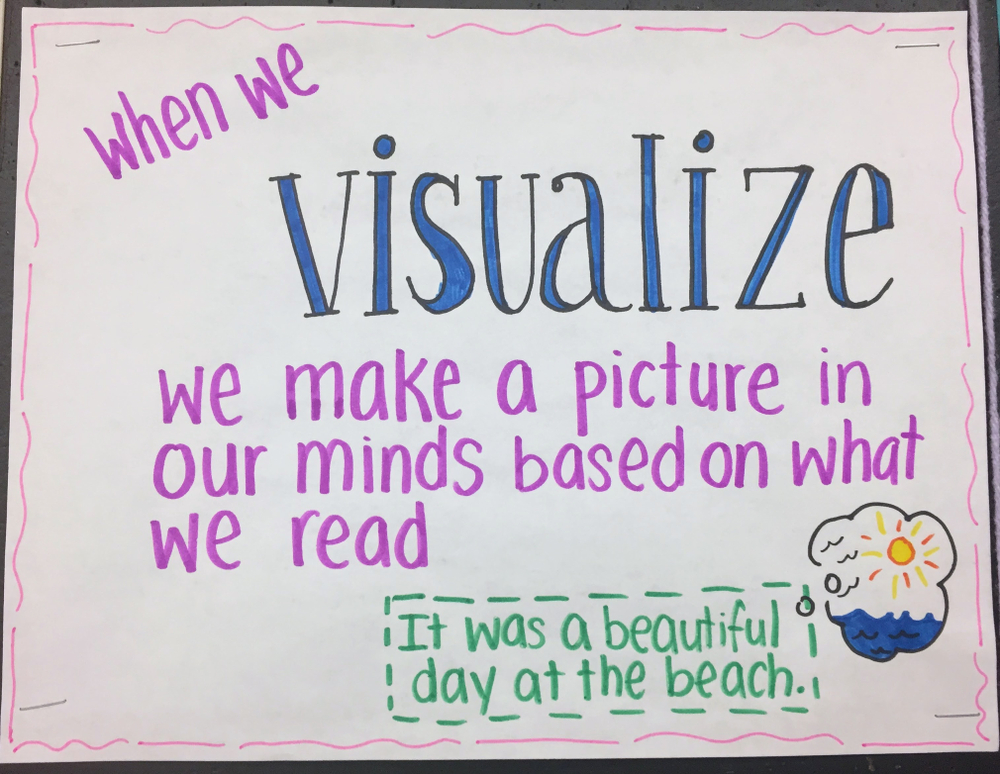
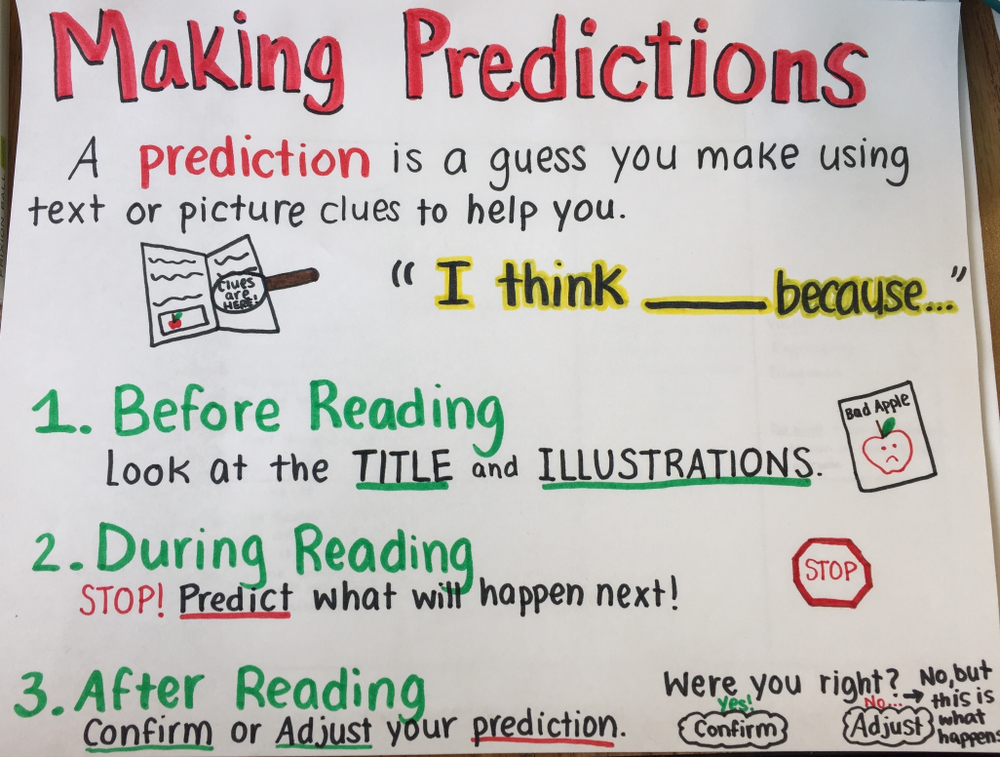
Anchor Chart Examples
Check out some great anchor chart examples below!
A Few Helpful Tips
To ensure anchor charts are used as effectively as possible in your classroom, consider these helpful tips:
- Keep the Charts Clear and Concise: Focus on the essential information to avoid overwhelming students. Use bullet points, numbers, or short sentences to make your points clear.
- Use Color Wisely: Colors can highlight important information and help organize thoughts. However, too much color can be distracting. Stick to a few complementary colors to make your chart visually appealing and easy to read.
- Include Visuals: Drawings, symbols, and icons can help students understand and remember concepts better than text alone. Use simple illustrations to reinforce the ideas on your chart.
- Make Your Charts Interactive: Involve students in creating and adding to the anchor charts. This can include everything from brainstorming ideas to drawing pictures, which increases their investment and engagement.
- Display Strategically: Place anchor charts where students can easily reference them during related activities or lessons.
- Refer to Them Often: Regularly direct students’ attention back to relevant anchor charts. This reinforces their value as a learning tool and helps solidify students’ understanding.
- Create with a Purpose: Before making an anchor chart, identify the key lesson or skill it will support. This focus ensures that the chart serves a specific, meaningful role in your classroom.
- Keep Things Flexible: Be prepared to update or modify your charts based on students’ needs and comprehension levels. Learning is dynamic, and so should be your anchor charts.
By incorporating these tips, your anchor charts can become incredibly effective teaching tools, enhancing learning and engagement in your classroom.
Looking for more Creative Ways to Enhance Classroom Learning?
Check out these posts below!
Character Analysis Activities for Middle School
Teaching Characterization with Bridge to Terabithia
Using the RACE Strategy in ELA
Interested in signing up for my email list?
If you are interested in signing up for my email list, you can do so by clicking on the link below. I periodically send out emails with free resources, teaching tips, and exclusive deals. Signing up will also give you immediate access to some of my best selling Interactive Notebook resources – foldable activities, graphic organizers, and other fun activities.