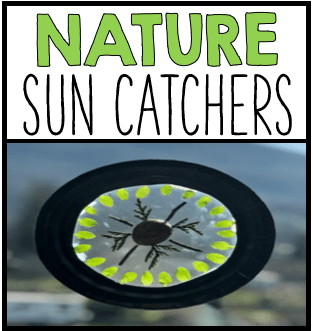
Nature Crafts: Sun Catchers
Hello nature lovers! Today is post #5 in my Outdoor Learning series. Through these posts, I hope to inspire you with quick, fun, and easy lessons you can use immediately in your classroom. I hope to help you and learners get outside to explore the amazing world around us. Today I am sharing a fun nature craft to brighten up your classroom windows.
We have been blessed with a incredibly gorgeous, sunny March here in beautiful British Columbia. To take advantage of the sun spilling through our classroom window, we decided to bring a little bit of nature inside with these fun Nature Sun Catchers.
Nature Craft Materials
This activity only requires three items – paper plates, contact paper, and natural materials. I snagged a stack of black paper plates from our local dollar store, and was able to use the contact paper we already had at the office. It ended up being a super inexpensive art project.

Preparing for the nature craft activity
As I am working with a grade 2/3 group this year, I precut the paper plates before we started this activity. If you had older students, or your younger ones had stronger scissor skills than my group, you could save yourself the prep and easily have the kids cut out the center of the plates themselves. I also cut each student a square of contact paper.
For the next step, you will need to have your students carefully peel the backing off of the contact paper. Then, they can stick it to the back of their plates. They will need to avoid touching the sticky part as much as they can. If they touch it too much it will lose its stickiness. This makes it harder to stick things to it later in the project.
Once students have attached the contact paper, have them trim around the edges. You want to make sure there is no contact paper is left sticking showing around the edges. This part can be a bit tricky for some. Because of this, it’s a good idea to circulate around your group and help out where you can.
Gathering the materials for the nature craft
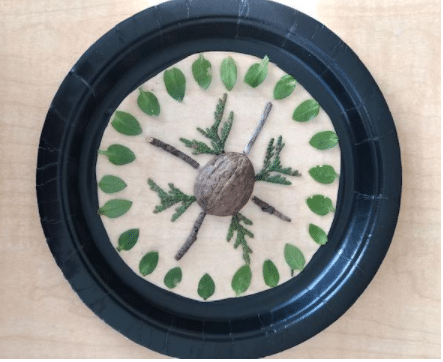
When your circles are complete, the fun part begins. I sent each student outside with a plastic baggie. Then, I had them run around our outdoor space in search of small items to attach to their Nature Sun Catchers. You will want to encourage your kiddos to hunt for materials that are small and light; bigger objects will not stick to the contact paper, and will fall off when you hang them in the window.
Putting together the Sun Catchers
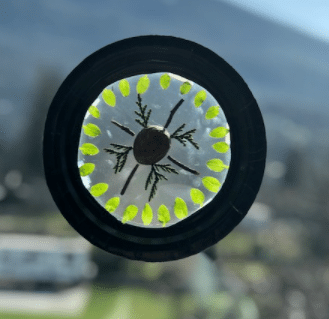
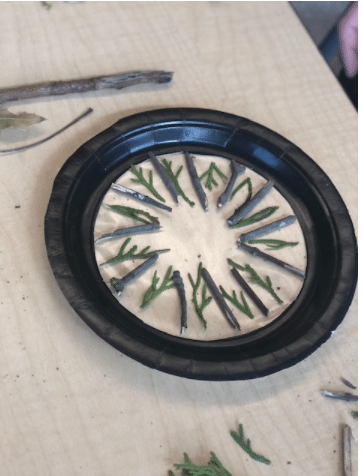
When they are done gathering materials, have them return to class and start sticking their items onto their sun catchers. This is a great opportunity to talk about symmetry, and show students some examples of different symmetrical mandala designs.
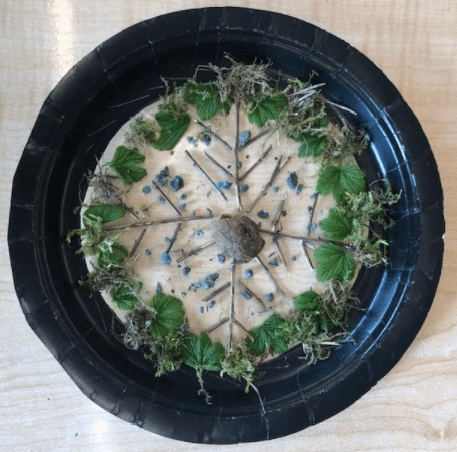
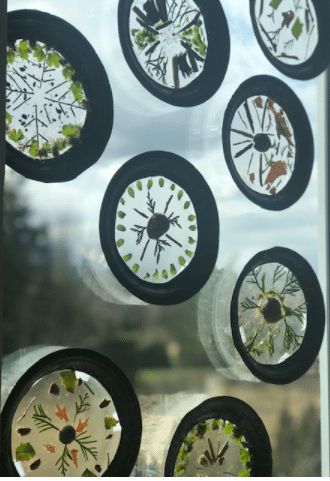
When completed, have your students write their names on the back outer rim in sharpie, and hang your Nature Sun Catcher in your classroom window. They look really beautiful when they catch the sunlight!
I hope this mini lesson lesson inspires you to take your students outside to explore. Let me know in the comment section if you end up trying it out with your class – I would love to hear how it goes!
Looking for more lessons to inspire Outdoor Learning?
Click on the image below to go directly to the Outdoor Learning section of my Teachers Pay Teachers store. I have a wide variety of different outdoor lessons available!
Looking for my previous Outdoor Learning posts?
Click on the link below to check out some of my previous outdoor learning posts.
Interested in signing up for my email list?
If you are interested in signing up for my email list, you can do so by clicking on the link below. I periodically send out emails with free resources, teaching tips, and exclusive deals. Signing up will also give you immediate access to some of my best selling Interactive Notebook resources – foldables, graphic organizers, and other fun activities.